Is there a way to remove empty pages at the end or in the middle of a Word document? How to avoid printing blank pages out? In this tutorial we’ll show you 3 easy ways to delete blank page in Word 2019 / 2016 document.
Method 1: Delete Blank Page in Word Document Using Navigation Pane
Click the View tab on the Ribbon, and then check the box next to Navigation Pane in the Show group. A sidebar will appear on the left and the Pages tab will give you thumbnails of all the pages in your document.

Just select the thumbnail of any blank page in the left panel, and you can then press the Delete key to remove it.
Method 2: Delete Blank Page in Word Document By Removing Page Break
Blank pages are most often caused by manual page breaks. Page breaks are non-printing characters that are hidden by default, and you can make page breaks visible by clicking the Paragraph Markers icon on the Home tab in Microsoft Word. A page break looks like this:
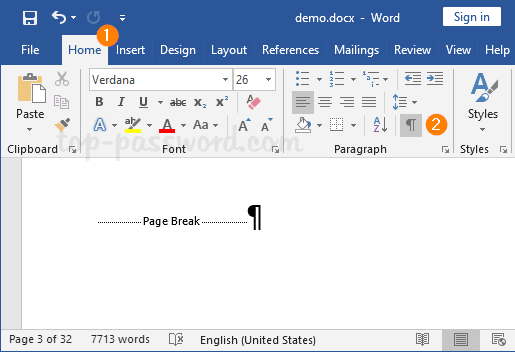
To get rid of it, just double-click the page break so that it’s selected, and then press the Delete key.

If you need a quick way to remove all manual page breaks in a Word document, follow these steps:
- Select the Home tab in the Ribbon and click on Replace in the Editing group.

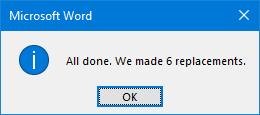
- When the Find and Replace dialog box appears, type ^m in the Find what box and then click on Replace All.

- It will remove all manual page breaks from your current Word document at once.
Method 3: Remove Extra Blank Page at the end of Word Document
Blank pages can appear at the end of your Word document because of non-printing characters. To delete those unnecessary characters, select the Home tab and click on the Paragraph Markers icon.
![]()
You may see a long list of formatting marks at the end of your document. Just select all of them and hit the Delete key. The extra blank pages will go away.
That’s it!