How can I protect an Excel worksheet from being deleted? Looking for a way to prevent sheets from being deleted while still allowing them to be hidden or rearranged? In this tutorial we’ll show you 2 ways to protect a particular or all sheets from being deleted in Excel 2016/2013/2010/2007.
Tips: If you want to protect an Excel file (.XLS, .XLSX) from being deleted accidentally, please try the Protect My Folders program which can lock any folders or files with password.
Method 1: Protect Entire Workbook Structure with Password
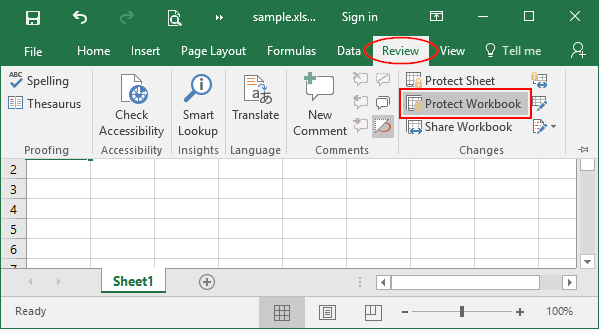
- Open your Excel workbook. Select “Review” Ribbon menu and click “Protect Workbook” from the changes group.
- A Protect Structure and Window dialog box opens. Make sure the Structure option is checked. Type your password and click OK.
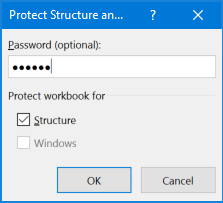
- Reenter the password and click OK.
- Now all your sheets in the workbook are protected. You cannot insert, delete, rename, move, copy, hide or unhide worksheets anymore.
Method 2: Protect A Particular Sheet from Being Deleted Using VBA
If you just want to prevent users from deleting a particular sheet you designate, try this solution. This works flawlessly for me on a test workbook in Excel 2016.
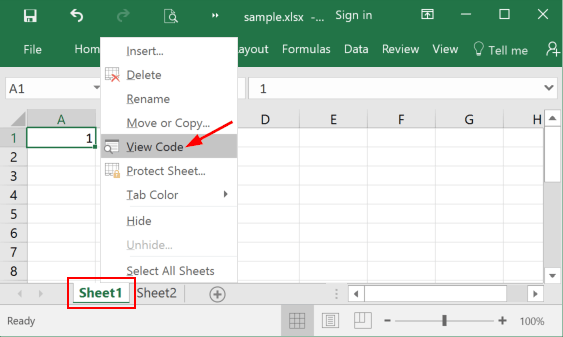
- Right-click on any sheet tab and select View Code from the popup menu. This will open the Visual Basic Editor (ALT+F11).
- You’ll see a list of worksheets on the left. Double-click on every sheet you want to protect from being deleted, copy and paste the following code into the large white area on the right.
Private Sub Worksheet_Deactivate()

ThisWorkbook.Protect , True

Application.OnTime Now, "UnprotectBook"

End Sub
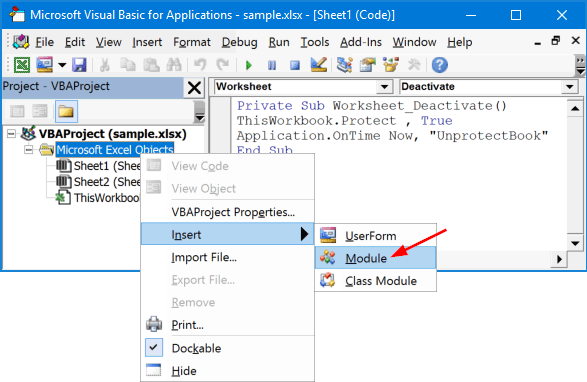
- Right-click on Microsoft Excel Objects on the left, select Insert -> Module.
- Double-click on the newly-created module on the left. Copy and paste the following code into the right pane.
Sub UnprotectBook()

ThisWorkbook.Unprotect

End Sub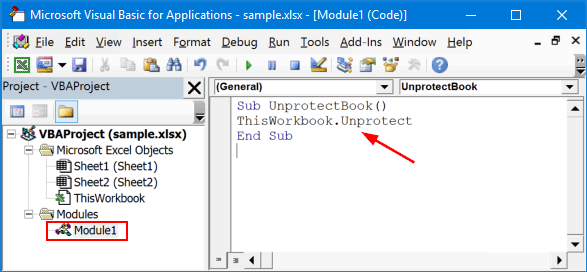
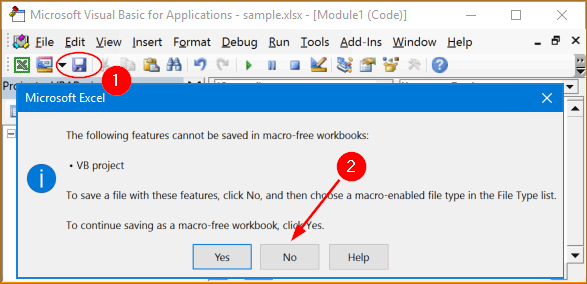
- Click Save and you’re done. If you’re using a macro-free workbook, you’ll get the warning message “The following features cannot be saved in macro-free workbook“. Click No.
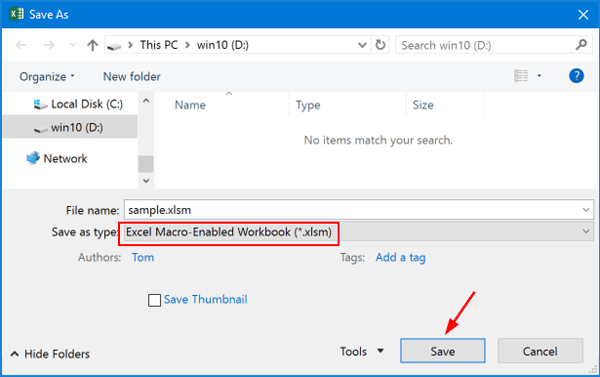
- In the Save As dialog box, select “Excel-Macro Enabled Workbook (*.xlsm)” and click Save.
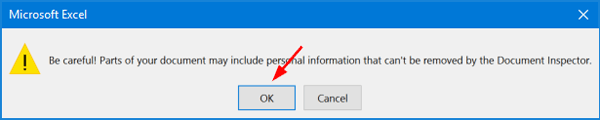
- When you see the popup message “Be careful! Parts of your document may include personal information that can’t be removed by the Document Inspector“, click OK.
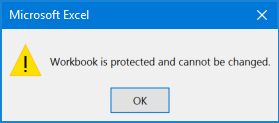
- Close all of your opened windows. Open the .xlsm file in Excel, right-click your protected sheet tab and select Delete, next click Delete to confirm, you’ll see the failure message: Workbook is protected and cannot be changed.
- That’s all there is to it.