How do I turn on or off closed captions? Live Captions is a new accessibility feature in Windows 11 which can provide automatic transcription for a movie or audio. This is really useful for people who are deaf or hard-of-hearing. In this tutorial we’ll show you 2 simple methods to enable or disable Live Captions in Windows 11.
Method 1: Enable or Disable Live Captions via Settings App
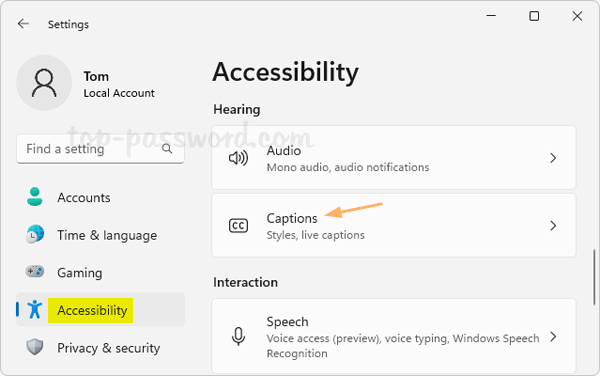
- Press the Windows key + I to launch the Settings app. Choose Accessibility on the left side, and then click Captions on the right pane.
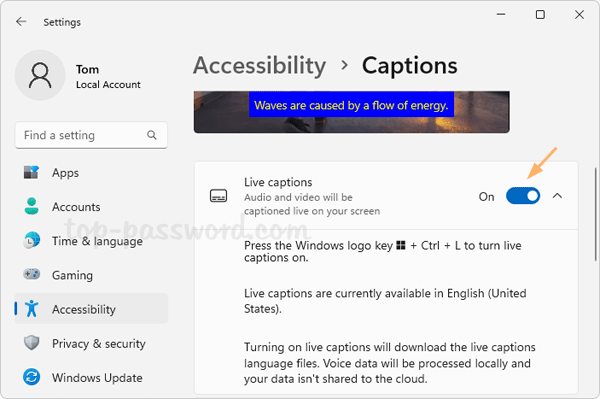
- You will see the toggle switch for Live captions. When turning on Live Captions the first time, it will prompt you to download the live captions language files (about 98.3Mb).
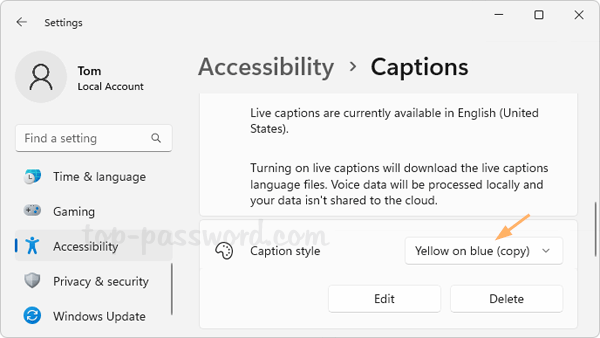
- If you want to change the style of the captions, click the “Caption style” drop-down list and you can select “White on black”, “Yellow on blue”, “Small caps” or “Large text”.
- When Live Captions is turned on, it will automatically convert video/audio being played on your computer into easily readable text.

Method 2: Enable or Disable Live Captions via Action Center
- Press Windows key + A on your keyboard (or tap the WiFi or Volume buttons in the system tray) to open the Action Center pane. Next, click the Accessibility icon.
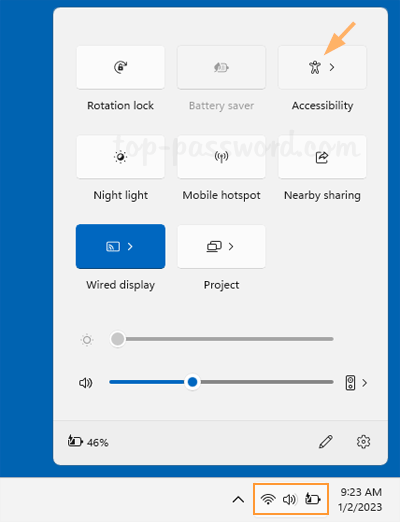
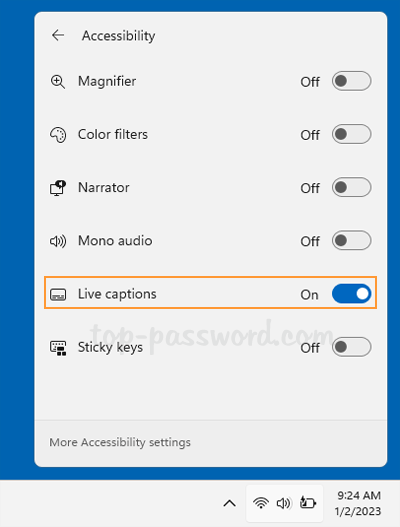
- In the next pane, you can click the toggle next to Live captions to enable or disable the Live captions feature.
That’s it!